Today, Thursday, December 31st, in the last few hours of 2015, I paid off my new kitchen. 19 months after we started work on it, the final payment was just submitted.
Now we just have to finish the damn thing.
I realize that I have been a very bad DIY blogger. My last kitchen remodel post was about taking down the soffit, and how we accommodated for what we found underneath it. Hopefully, some of you are still interested in the process we went through, doing a complete from-the-studs kitchen remodel (and, as it turned out, playroom and laundry room remodel at the same time) entirely ourselves, for just around $8,000.
So, here’s what happened next: electrical.
Once the soffit was removed, Honest Husband got to work on the electrical and lighting. When we moved into the house in spring of 2013, the kitchen had one light: a buzzing fluorescent job that stretched across the island. We replaced that light almost immediately, with a cheap, domed ceiling light that was easier on the corneas, but still didn’t provide much light, even with 2 100-watt equivalent bulbs buzzing inside. The kitchen does have several, beautiful, large windows. But they face North, so they weren’t exactly flooding the room with sunlight. Combine all this with the original dark oak cabinets, and the kitchen was dark. Really dark.

Move-in day. April 2013.
Personally, I feel as though the kitchen is the one room in the house where you just can’t go wrong with light. There’s no such thing as an overly lit kitchen. The brighter the better.
Finalizing design plans, my lighting wish list went as follows:
- A light directly above the sink.
- Pendant lighting centered above the island (the electrical box for the ceiling light we had wasn’t centered above the island in the original kitchen, and it made my OCD twitch every day!).
- Recessed lighting throughout, following the countertops.
- Lighting above the stove.
- Under-cabinet lighting
- And the biggest, most luxurious wish list item of all? Have it all be adjustable. Dimmable. Since the kitchen is open to the playroom, where we all gather to watch TV and movies, I wanted to make sure that we could keep lights on in the kitchen (in case anyone needed to make some more popcorn during a show), but not have such bright lights blaring that they distracted or glared off the TV. A true “home theatre” experience.
True to form, Honest Husband spent weeks researching lighting options. We quickly determined that LEDs were the obvious choice. They provided the warmth and immediate light of an incandescent bulb, but were brighter and had a lifespan similar to a CFL (without the horrible fluorescence that I think makes light quality a real problem with CFLs). The local big box hardware store had a few options for retrofitted LED recessed lighting that seemed to fit what we needed, then Honest Husband found the absolute coolest thing: flexible under cabinet ribbon lights. So small, they’d be invisible once the cabinets were installed, but powerful enough to illuminate both of our glass-fronted cabinets as well as the whole countertop underneath the cabinets.

These are the lights!

They’re like something out of Star Wars.
Many products that retrofit premade cabinets to add under cabinet lighting include a light strip, a cord, a transformer, and usually a switch of some kind. The end result gives under cabinet lighting, it is true, but each bank of cabinet lights can only be turned on by reaching underneath your top cabinets to flip a switch. And there is still the aesthetic question of how to successfully hide the cords and boxes that come with the light strip. The flexible lights (as well as Honest Husband’s extensive electrical knowledge) solved these issues.
These small, compact lights would give us the slick appearance of custom built cabinetry. There would be no under-cabinet switch. No cords to plug in. But we also wouldn’t have to resort to the physical modifications that are required with many custom-built cabinets (most custom cabinets have a light box built underneath the cabinet, so small recessed lights can be installed seamlessly in what is essentially a fat piece of trim). With the soffit down and the studs exposed, Honest Husband was able to run electrical wires from the uppers to the switch next to the sink, adding a light switch for the under cabinet lighting next to the garbage disposal switch.

We didn’t actually get the under cabinet lights hooked up until almost Thanksgiving, but you can see that the light source becomes almost invisible with the trim and door panels on.
The one “compromise” I had to make with this arrangement was that I wouldn’t be able to turn on the “sink light” independently from the rest of the ceiling lights. This has never been a problem.
For the recessed lights in the ceiling, Honest Husband and I initially purchased the Sylvania retrofit down lights for our new ceiling lights. They had good reviews. They were a nice, name brand. They were in the lighting and wattage range we were looking for.
They didn’t fit.
We ended up using the Ultilitech brand retrofit lights. They were Lowe’s in-house brand, so they were cheaper than the Sylvanias, and—BONUS—they fit between our ceiling and the second floor above.
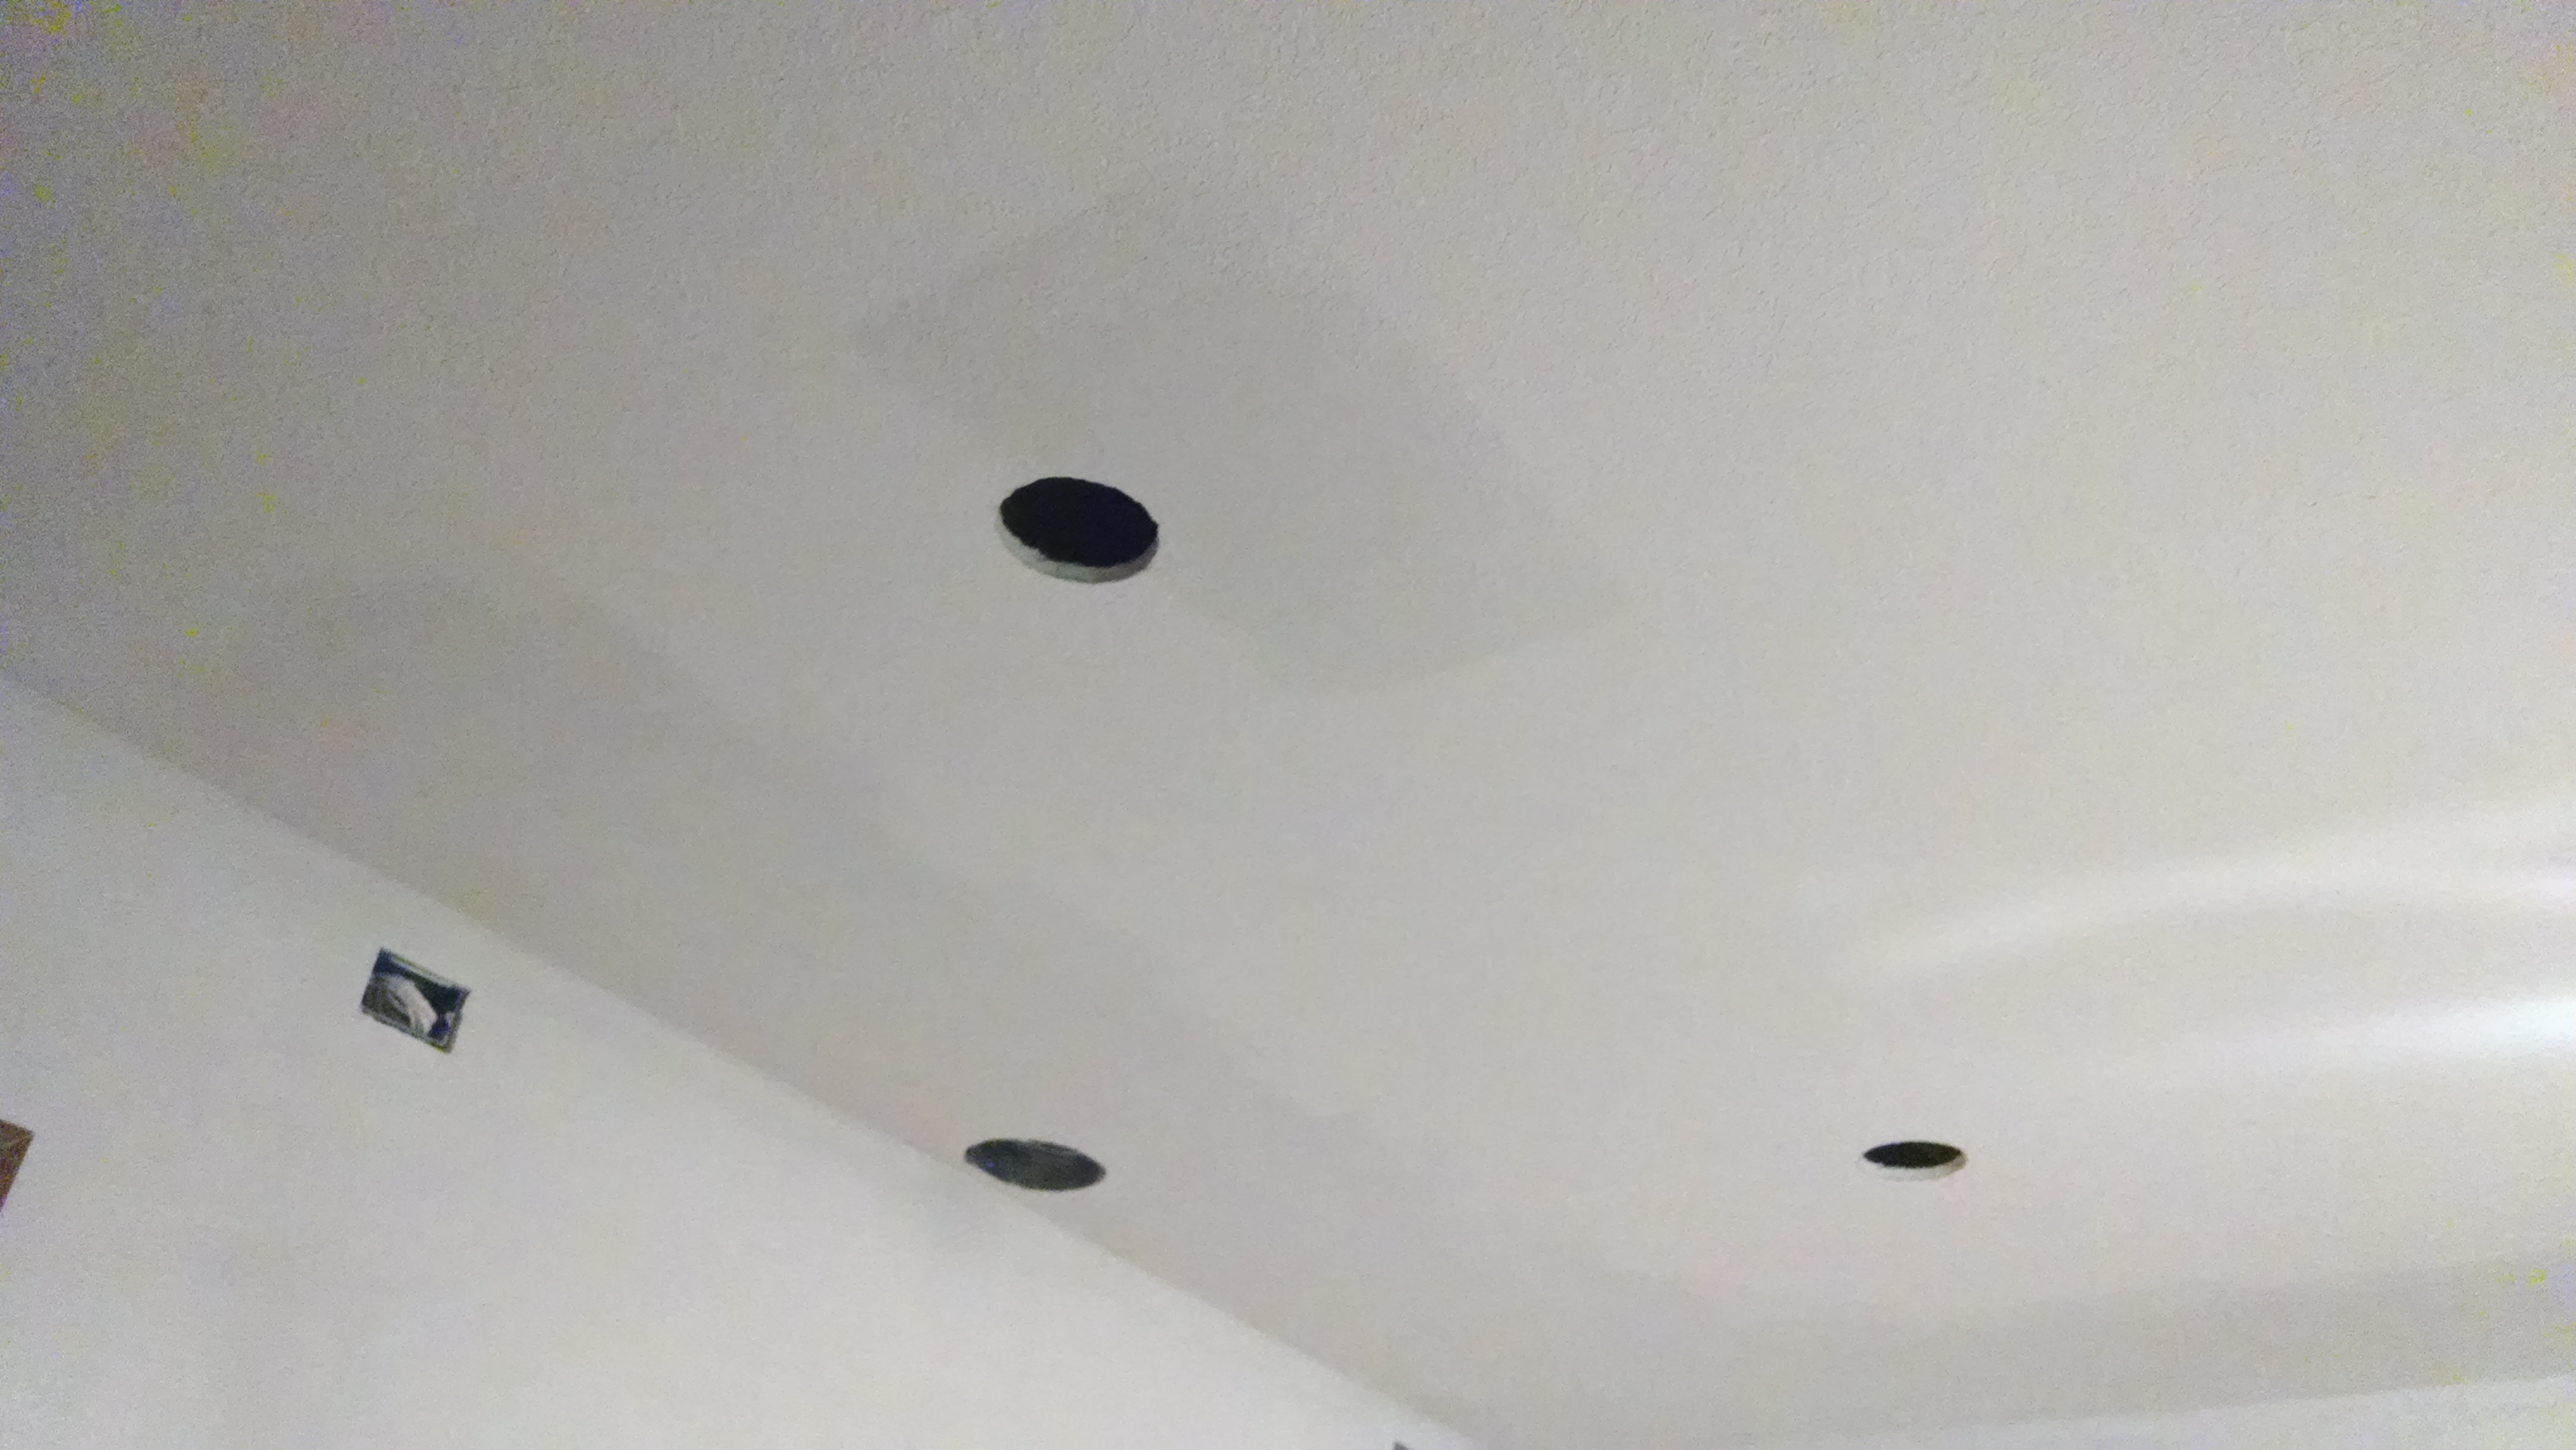
When it came time to prep the ceiling for lights, Honest Husband carefully measured where the new island would be, and cut holes for two pendant lights centered over it. Then, he cut for three recessed lights going along the long side of the “L,” one light centered over the sink, and two more on either side of the island. 8 ceiling lights in total for our 11×22’ kitchen. Awesome.

With the holes cut, the drywall torn down, and the new house wires being fed through, the kitchen looked like it was being attacked by giant space spiders.
I won’t bore you with the details of patching the ceiling, matching the knock-down pattern (we dabbed the patches with a dry kitchen sponge that had been randomly gouged then dipped in mud), and performing the horrible, horrible job of horribleness, painting the ceiling. Just know that Honest Husband did it all so well that I had trouble finding one of the patched spots on the ceiling this morning in order to take a picture of it (Which is next to impossible, by the way. I’m trying to take a picture of white texture next to a slightly different white texture. My cell phone camera skills are just not that developed).
Patching before painting.

What it looks like today. The patch is to the right of the light. Squint.
So, there you have it. One more post about our kitchen remodel. One more step closer to reveal. The plan is to write future posts about how we scheduled each step, design details, and also talk about how we expanded the remodel to include the playroom and laundry room. Hopefully, once all of that is finished, we’ll be finished. Those final trim pieces will be installed, the caulking will be done, I’ll be able to clean everything, and take the final “reveal” pictures.
With some luck, the kitchen won’t be entirely out of date by then.
